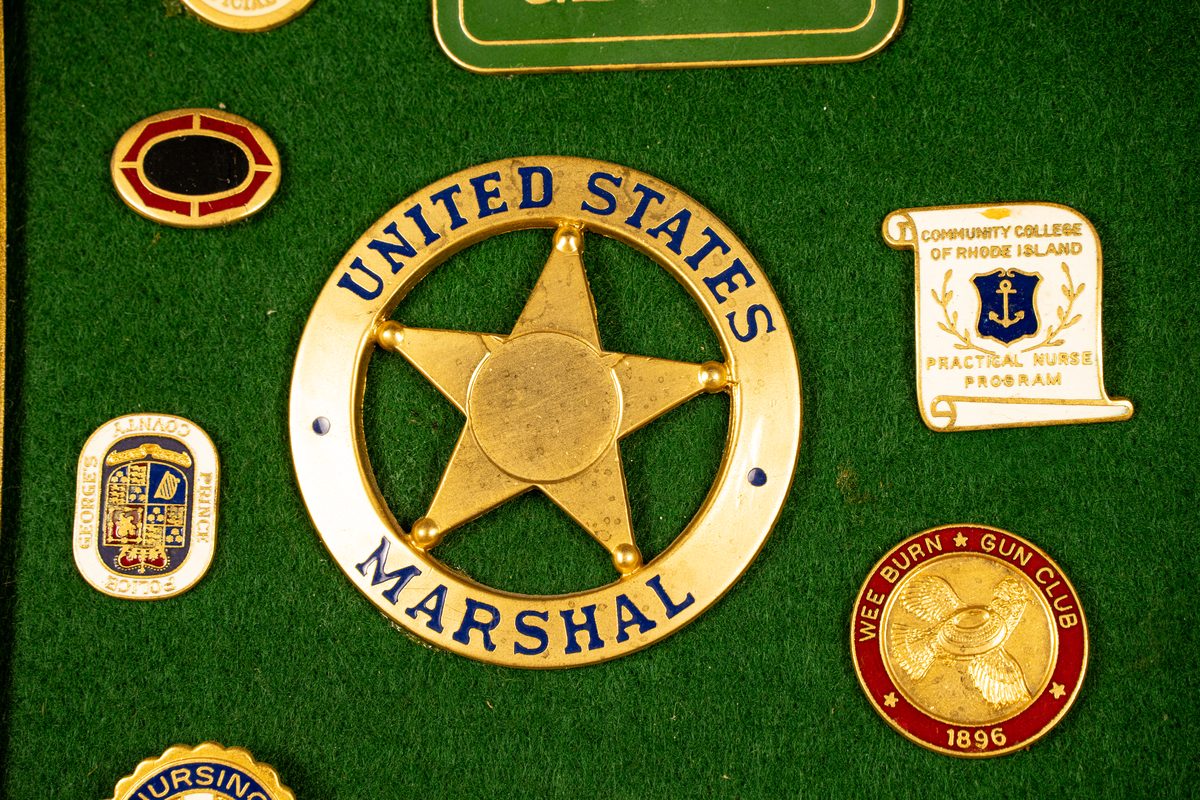
For more than thirty years, New England Colors has driven decorative epoxy and hard-fired enamel into badges, insignia, emblems, and fine metalwork — ground dead flush, polished to a mirror, and finished start-to-finish in the United States.
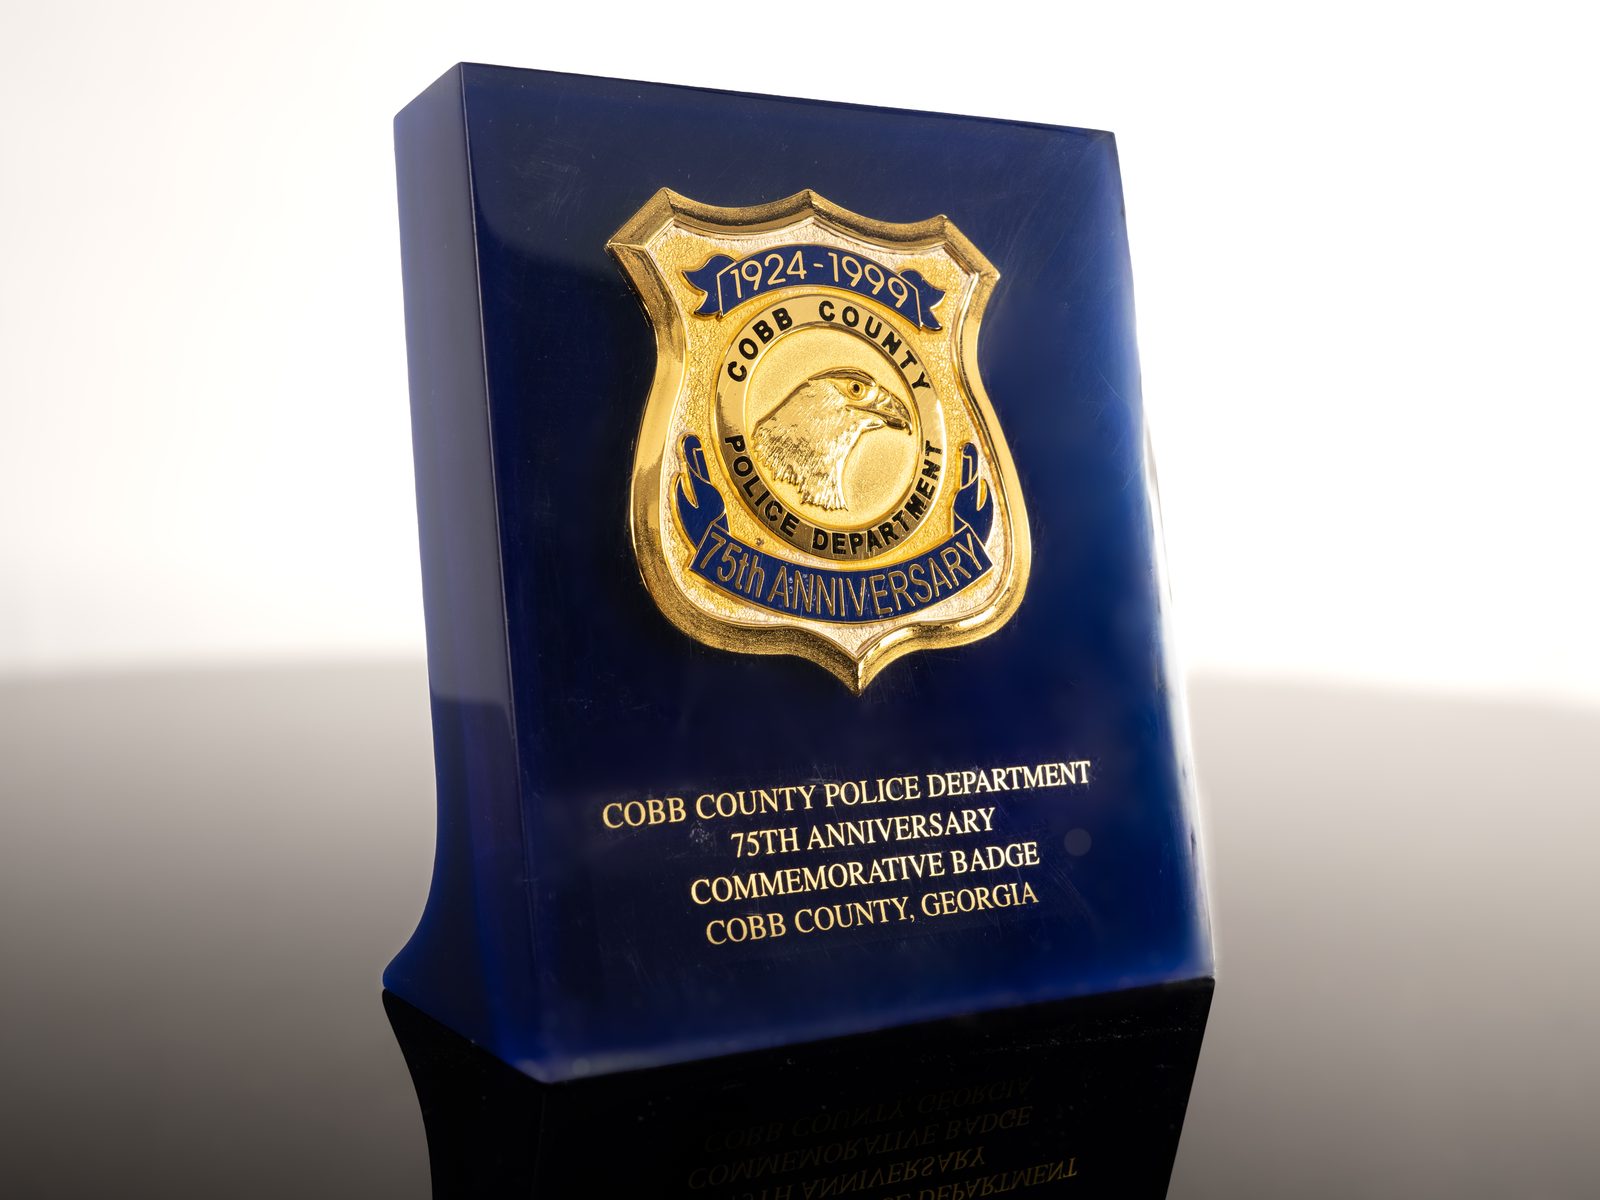
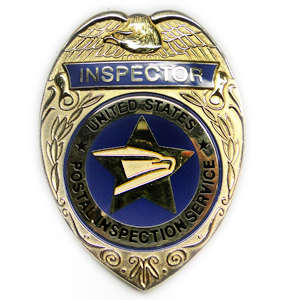
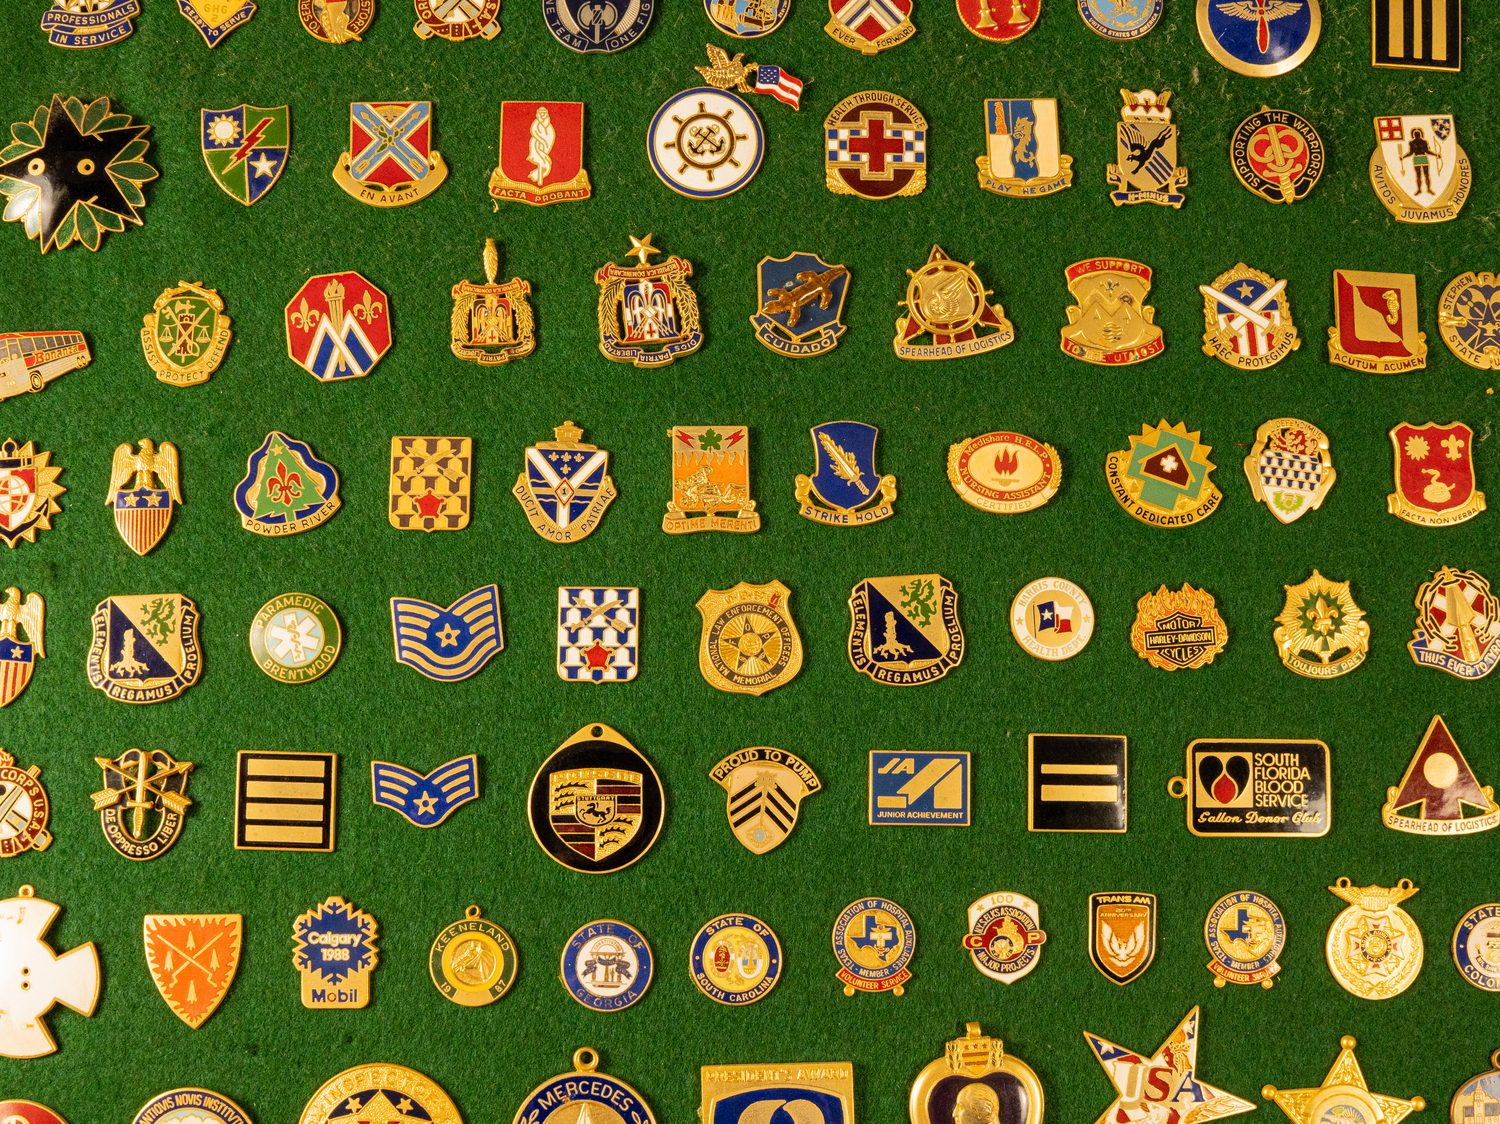
Signature finished piece. A single police or military badge with vivid buffed epoxy, shot tight at a slight angle so the mirror finish catches the light. A7R V · macro · f/8 · diffused
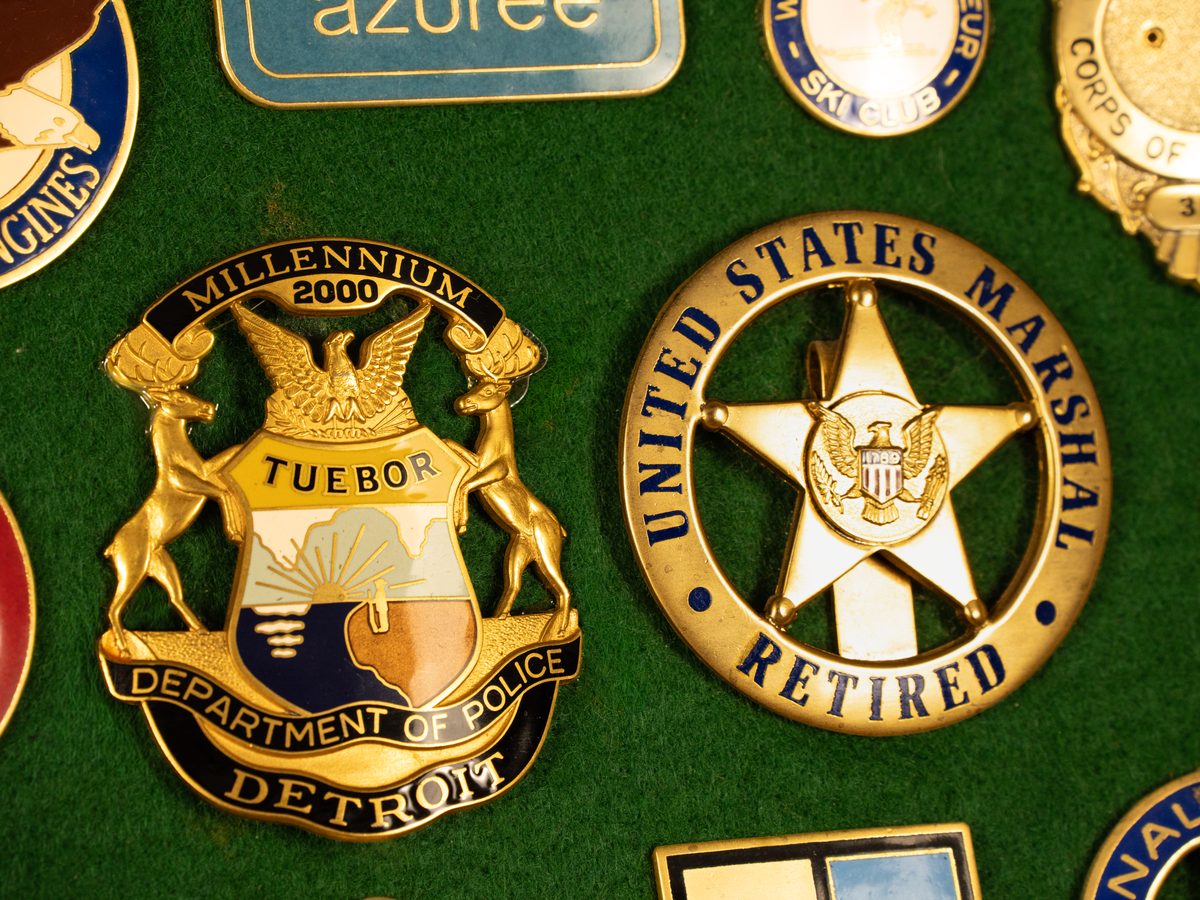
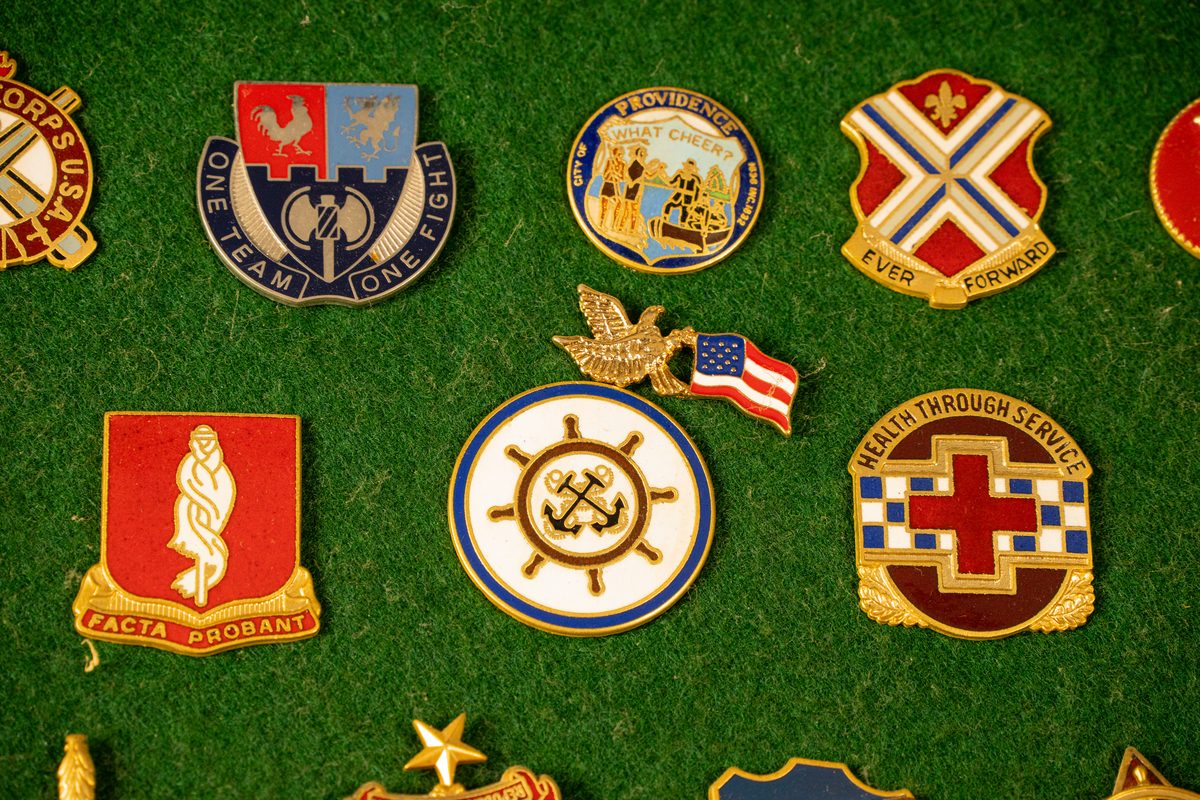
Buffed epoxy, mirror finish. Macro of a finished cavity, ground flush. A7R V · macro
Two methods of decorative epoxy application, in hundreds of opaque, transparent, and pearl colors.
Explore the processCloisonné enamel piece. Glass-like fired finish, raking light to show depth. A7R V · macro
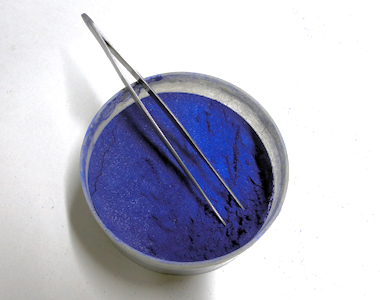
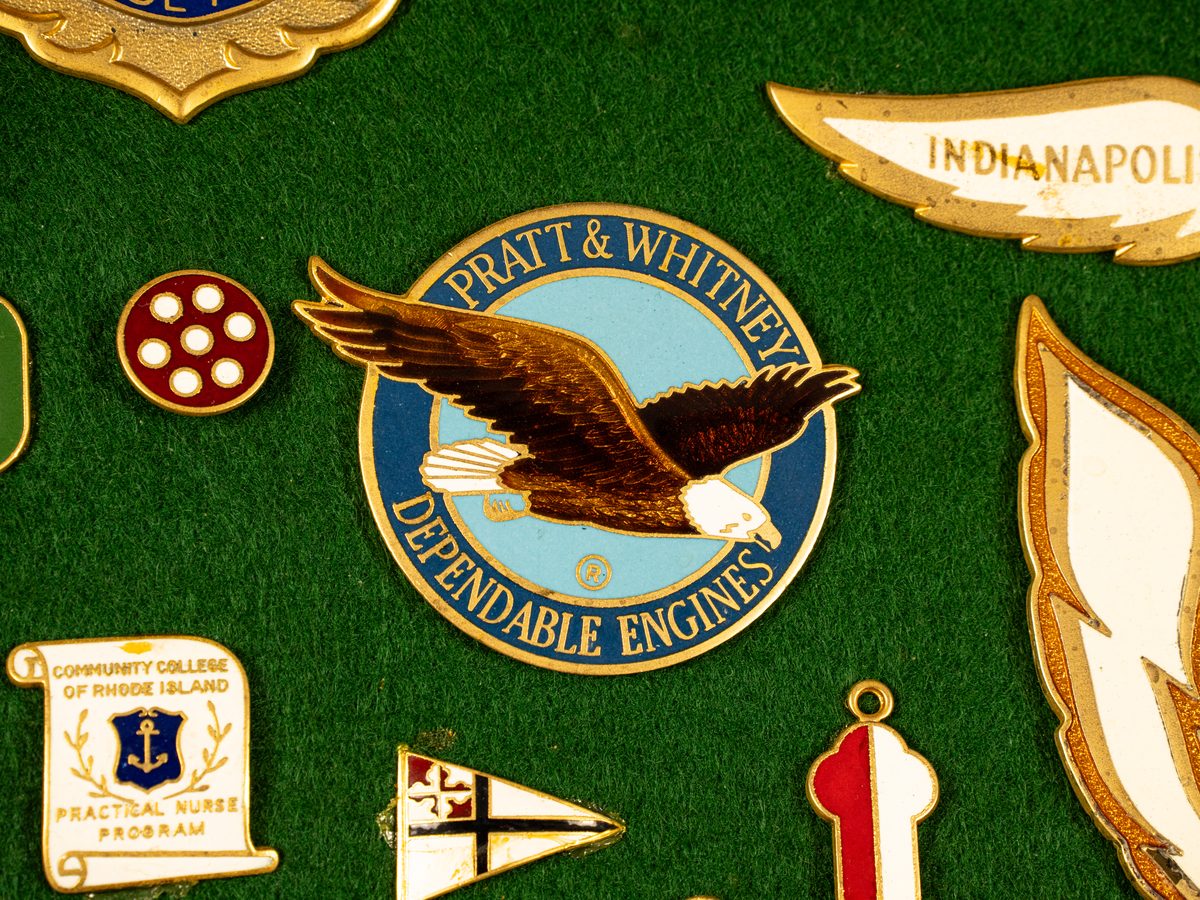
Crushed glass fired into metal at 1400°F — the original method for coloring insignia, known to last a lifetime.
Explore the processPolished vs. matte pair. One mirror-polished piece beside one sandblasted matte piece. A7R V · macro
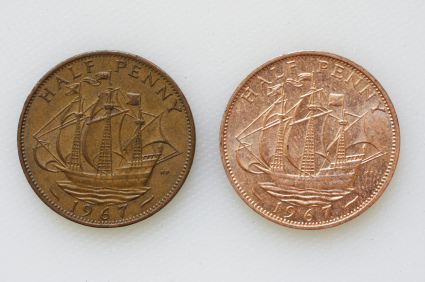
Precision hand finishing — clean matte textures and mirror-bright surfaces, with no marks or residue.
Explore the processBadges, emblems, pins, and insignia for law-enforcement, municipal, military, and commercial clients who need durability and dead-on consistency, piece after piece, run after run.
Every process — application, firing, grinding, and polishing — is performed in our own shop in Rhode Island, now backed by expanded in-house manufacturing and tooling.
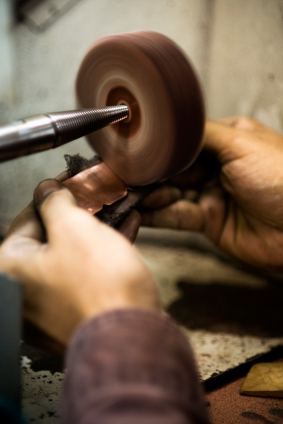
We sit just outside Providence, in the heart of what was long called the jewelry capital of the world — and we've been part of that tradition from the start.
The craft runs back to Prince Enameling, opened in 1953, where Ken Marcotte was the second-generation owner. When demand shifted in the early 1990s from hard-fired cloisonné enamel toward decorative epoxy resin, Ken and his wife, Linda, learned to flow epoxy into the very same pieces they had been enameling for decades.
After refining the process, they founded New England Colors in 1992. The shop has carried that combination of old-world enamel knowledge and modern epoxy technique ever since, run by a skilled team experienced in epoxy application, enamel work, grinding, and precision polishing.
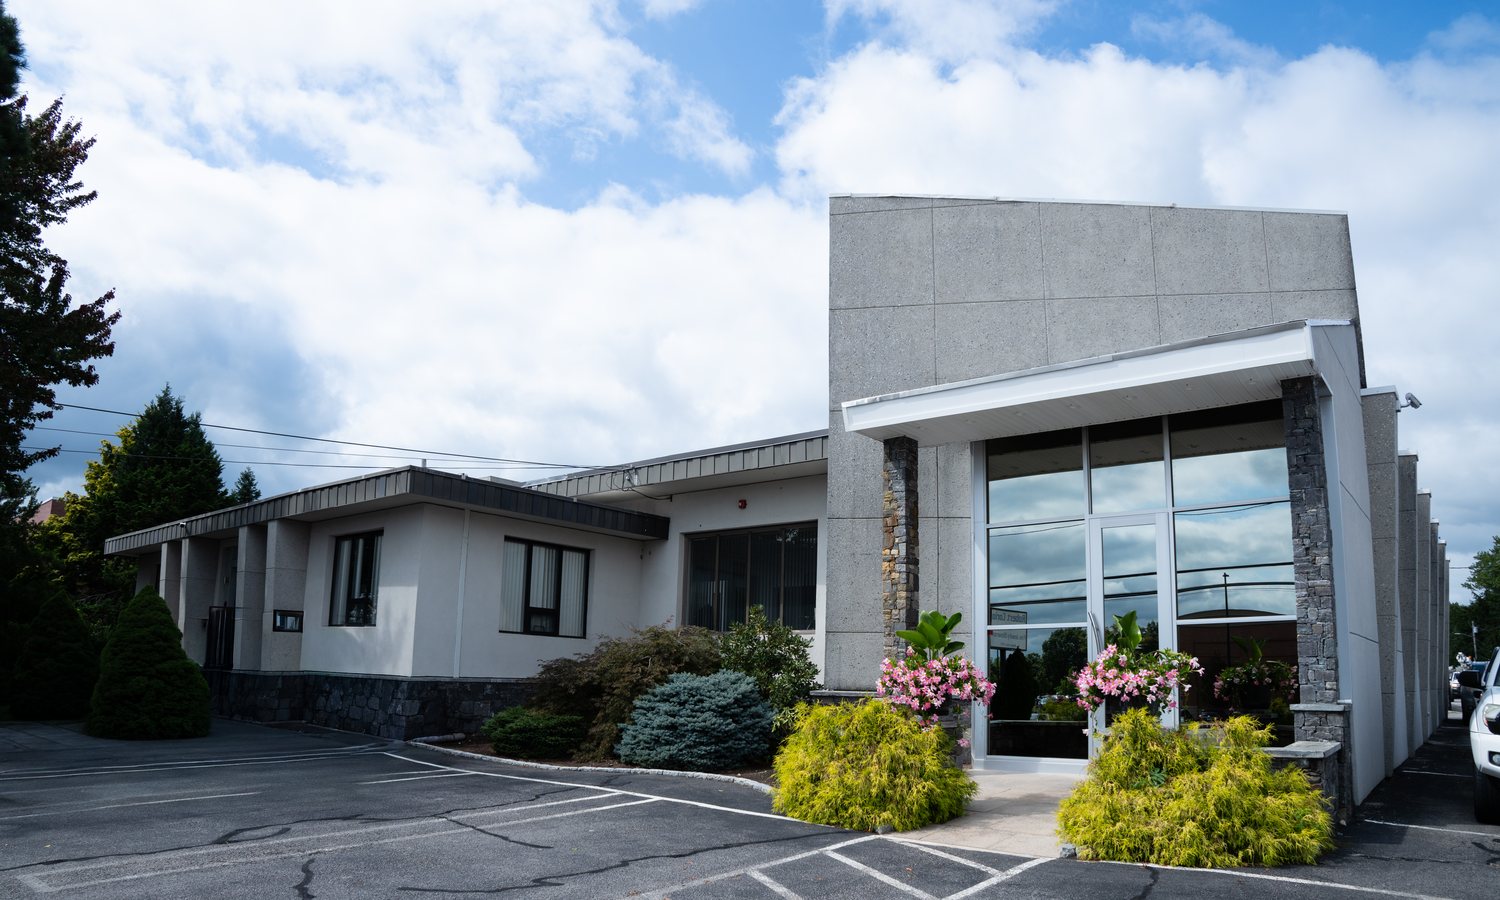
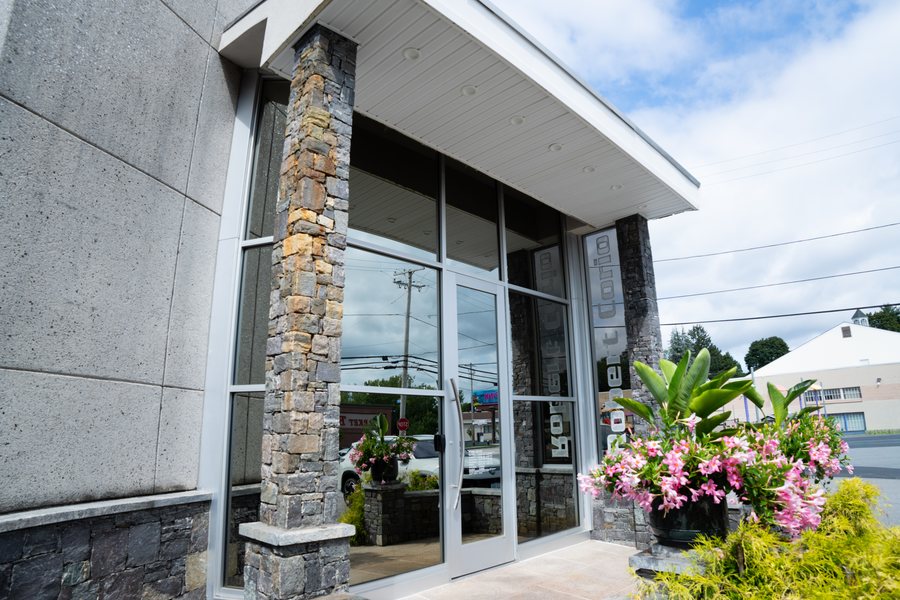
Today, New England Colors is part of Robert Corio Designs, a Johnston-based manufacturer that has acquired the company and carried its craft forward. Operations have moved to Robert Corio Designs' state-of-the-art factory at 1263 Hartford Ave — about five minutes from the original New England Colors building — and the entire New England Colors team made the move with it.
The same people, the same processes, and the same standard the family built the name on continue here: every job treated as unique, and every piece finished for a lifetime of wear. With the added capacity and resources of the new facility, New England Colors is positioned to improve turnaround and output while keeping the craftsmanship its customers have counted on for decades. We look forward to meeting and working with everyone.
The bench / the work. A wide environmental shot of the shop floor or a craftsperson's hands placing epoxy or enamel into a cavity. Warm, real, lived-in — this is the credibility image. A7R V · 35–50mm · available light
Decorative color, durable finishes, and the metalwork behind them — combined under one roof, finished in the USA.
Add Robert Corio Designs' in-house capabilities here. Suggested items to confirm and list:
Two distinct methods of driving epoxy resin into a cavity. The right one depends on the look you're after, the depth of the cavity, and the metal you're working in — and we stock hundreds of colors across opaque, transparent, and pearl.
A cavity is over-filled with epoxy, ground flush with the surrounding metal, and polished to a mirror-like finish. It's the modern replacement for hard-fired cloisonné enamel: the same depth and brilliance, without the imperfections firing can introduce. Once buffed, a piece is ready for electroplating to lock in and protect that smooth, glass-like surface.
It works across gold, gold-filled, silver, white metal, and brass — brass being the most common — on findings that are flat or curved.
Buffed epoxy, finished. Tight macro of a flush, mirror-polished cavity. Angle the piece so the surface throws a clean highlight — that mirror is the selling point. A7R V · 90mm macro · f/8–11 · focus-stacked
Here the epoxy is gently flowed into the cavity and left to settle with a soft, slightly domed surface, rather than ground back. The result is a clean, complete piece with depth and dimension — a different character from the dead-flat buffed surface, and often the right call for deeper or more intricate cavities where grinding would be a fight.
Inlay epoxy, finished. Same framing and lighting as the buffed shot for a true comparison. Capture the slight domed character of a flowed (un-ground) fill. A7R V · 90mm macro · match the buffed setup
Every color we mix lands in one of three families. The family you pick changes how the piece reads in the hand and under light — and it's the same choice you'll make in the configurator.
Solid, saturated, fully covering color — the metal underneath does not show through. The workhorse for department colors, flat fields, and high-contrast insignia where the color has to read the same in any light. The widest part of our range.
Color you can see into. Light passes through the resin and bounces off the polished metal floor of the cavity, so the color glows and shifts as the piece moves — jewel-like reds, blues, and greens over a bright finding. Best over polished or textured metal that's meant to be seen.
A soft, luminous sheen with a subtle shift across the surface, like the inside of a shell. Reads as premium and catches a highlight from any angle — strong for commemoratives, awards, and dress insignia.
EDIT ME — if you match to specific agency colors or a standard (e.g. Pantone references, department spec colors), say so here. It's a real buying signal for government work. Confirm before publishing.
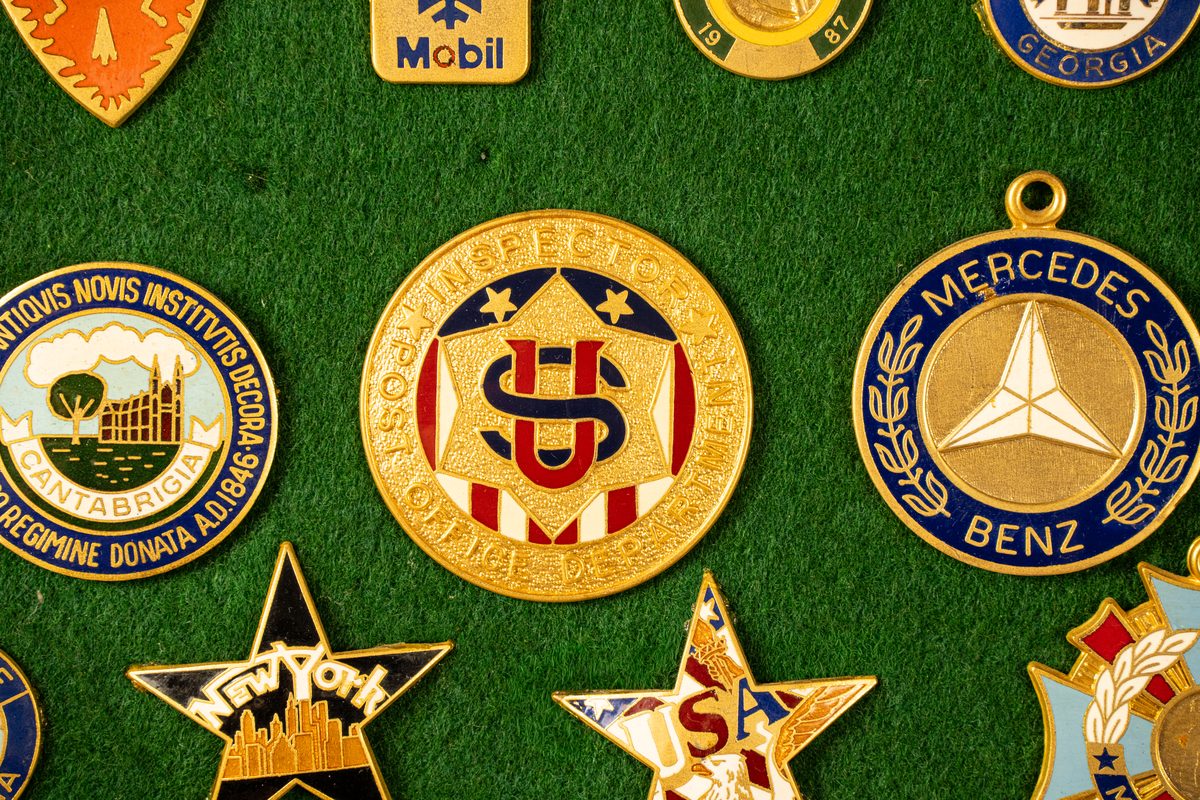
The color library. A tray or grid of sample pieces grouped by type — opaque, transparent, pearl — to show range at a glance. A strong, scroll-stopping image. A7R V · 50mm · flat-lay · even light
The oldest method we offer, and still the most durable. It's how color was originally set into badges, emblems, and pins — and it has been known to last a lifetime.
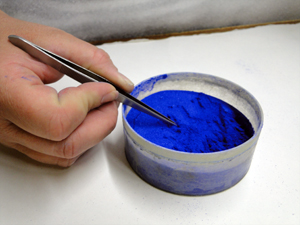
Hard-fired enamel starts as crushed colored glass, ground to a powder slightly finer than granulated sugar. That powder is placed by hand, with tweezers, into each metal cavity. The piece is then fired in an oven at 1400°F — three separate times — to fuse the glass solid.
The ideal substrate is gilding metal, which withstands the heat of repeated firing. After the final pass, the piece is ground flat to a flush, mirror-like surface with exceptional durability.
Finished cloisonné piece. Macro showing the deep, glassy color and crisp metal cloisons between colors. Raking light brings out the fired depth. A7R V · 90mm macro · f/8 · diffused
The color is fused glass locked into the metal — not a layer sitting on top. It won't peel, yellow, or fade, which is why century-old enamel insignia still look the way they did the day they were fired.
The thin metal walls between colors (the "cloisons" of cloisonné) keep each color crisp and separate, and become a bright metal line in the finished piece — part of why enamel reads as heirloom-grade.
Gilding metal is chosen because it survives three trips through a 1400°F kiln without distorting — the reason substrate selection matters as much as the glass itself.
Reach for hard-fired enamel on dress badges, presentation pieces, and anything meant to outlast its wearer. For broad color range, faster turnaround, and value, buffed epoxy is the modern alternative.
The raw glass. A close, textural shot of the crushed colored-glass powder — ideally a few colors side by side. Shows the craft from the very start. A7R V · 90mm macro · f/11
They can look nearly identical when finished. The difference is in how they're made, how they hold up, and what each is best suited for.
Enamel beside epoxy. The same (or near-identical) design done both ways, photographed together — the single most useful image for explaining the difference. A7R V · macro · identical lighting both pieces
For pieces that work in metal alone — no color — we shape the surface itself, from a clean matte texture to a mirror-bright shine.
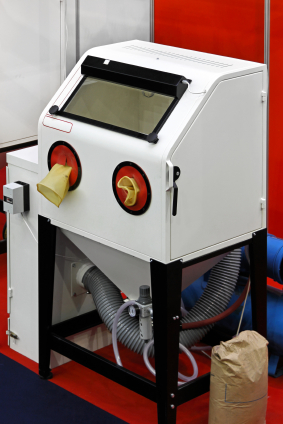
Glass beads are driven against the metal at low air pressure, cleaning the surface and leaving a smooth, matte, textured finish — with no marks in the finding and no residue left behind. We run two bead grades: a finer bead that leaves the piece smooth and clean, and a more abrasive bead for a defined matte finish.
Polishing brings a metal object to a mirror surface. A piece can be polished in full, or highlighted so only the raised or chosen areas catch the light. Our polishers work by hand, which is what allows that precision — it's the customer's call where the eye should land. Most pieces are sandblasted first, then polished to enhance the result.
Sandblasted matte. Macro showing the even, textured matte surface and clean edges. A7R V · 90mm macro · soft side light
Polished mirror. Same piece type, fully polished — capture a crisp reflection. Pair with a "highlighted" piece (only raised detail polished) if you have one. A7R V · 90mm macro · controlled reflection
A finer glass bead leaves a smooth, clean satin; a coarser bead leaves a defined matte tooth. Choosing the grade sets how much the surface scatters light.
We can polish only the raised detail or a chosen area, leaving the rest matte — a high-contrast look that makes lettering and emblems pop without any color at all.
Because blasting leaves no residue and an even tooth, it's an ideal surface to receive electroplating or to sit alongside epoxy and enamel fills on the same piece.
EDIT ME — if you offer oxidized / antiqued / blackened recess finishes, describe them here. Confirm before publishing.
Send us your badge and we'll turn it into an interactive color proof your team can play with — pick opaque, transparent, or pearl for every element, lock the look you want, and send it straight back to us for a quote. No guesswork, no surprises at delivery.
Attach your badge artwork, a spec sheet, or just a clear photo of an existing badge. Vector art is ideal, but a photo is plenty to start.
We map every cavity on your badge into a colorable region — done once, by us, so each area fills cleanly and accurately.
You get a private link. Click any element, choose a color and finish, and watch the badge update live until it's exactly right.
Lock the proof and send it back. We quote from the exact configuration you approved — what you see is what we make.
Click any element on the badge, pick a finish, then choose a color. This is a sample template — yours would be built from your own badge.
Have your own badge? Drop an image here or browse — we'll use it to build your real colorable template.
Robert Corio Designs has acquired New England Colors — and we could not be more excited to meet and work with everyone who has made this company what it is. We've moved operations to our state-of-the-art factory at 1263 Hartford Ave in Johnston, about five minutes down the street from the original New England Colors building, and we've brought the entire New England Colors team with us. The same people, the same craft, and the same standards continue here — now with the added capacity to improve turnaround and output for every customer we serve.
The New England Colors name, the team and their hands-on expertise, the processes and quality standards you rely on, and your existing points of contact — info@necolorsri.com and (401) 621-8870 still reach us.
A larger, state-of-the-art facility five minutes from the original shop, expanded manufacturing capacity for faster and more reliable turnaround, and new capabilities — including interactive color proofing for your badges.
1263 Hartford Ave. A wide shot of the new Robert Corio Designs factory — exterior or shop floor — or a group photo of the New England Colors team in the new space. Warm, welcoming, real. A7R V · 24–35mm · available light
Tell us about the piece — the metal, the cavity, the look you're after, and your quantity — and attach your badge artwork or a photo. We'll come back with options, turnaround, and (if you'd like) an interactive color proof.
Monday – Thursday 6:30am – 3:30pm
Friday 6:30am – 11:00am
Closed: Memorial Day · first two weeks of July · Victory Day · Labor Day · Columbus Day · Veterans' Day · Thanksgiving & the day after · the weeks of Christmas and New Year's